Installation Guide – Gravirano Explore
Your handcrafted wooden map is almost ready to transform your space.
Before You Begin
Make sure you have:
Before You Begin
Make sure you have:
All wooden
map pieces
(included in the set)
Measuring
tape
(not included)
Wooden
templates
(included in the set)
Level
Tool
(recommended)
Double-sided
tape
(included in the set)
Scissors
Tool
(not included)
All wooden
map pieces
(included in the set)
Measuring
tape
(not included)
Wooden
templates
(included in the set)
Level
Tool
(recommended)
Double-sided
tape
(included in the set)
Scissors
Tool
(not included)
Step-by-Step Installation
Step 1 – Prepare the Wall
Choose the spot where you want your map to be placed.
Measure the area to ensure the map fits comfortably.
Unpack all the wooden pieces and take a moment to familiarize yourself with their shapes and layout.


Step 1 – Prepare the Wall
Choose the spot where you want your map to be placed.
Measure the area to ensure the map fits comfortably.
Unpack all the wooden pieces and take a moment to familiarize yourself with their shapes and layout.
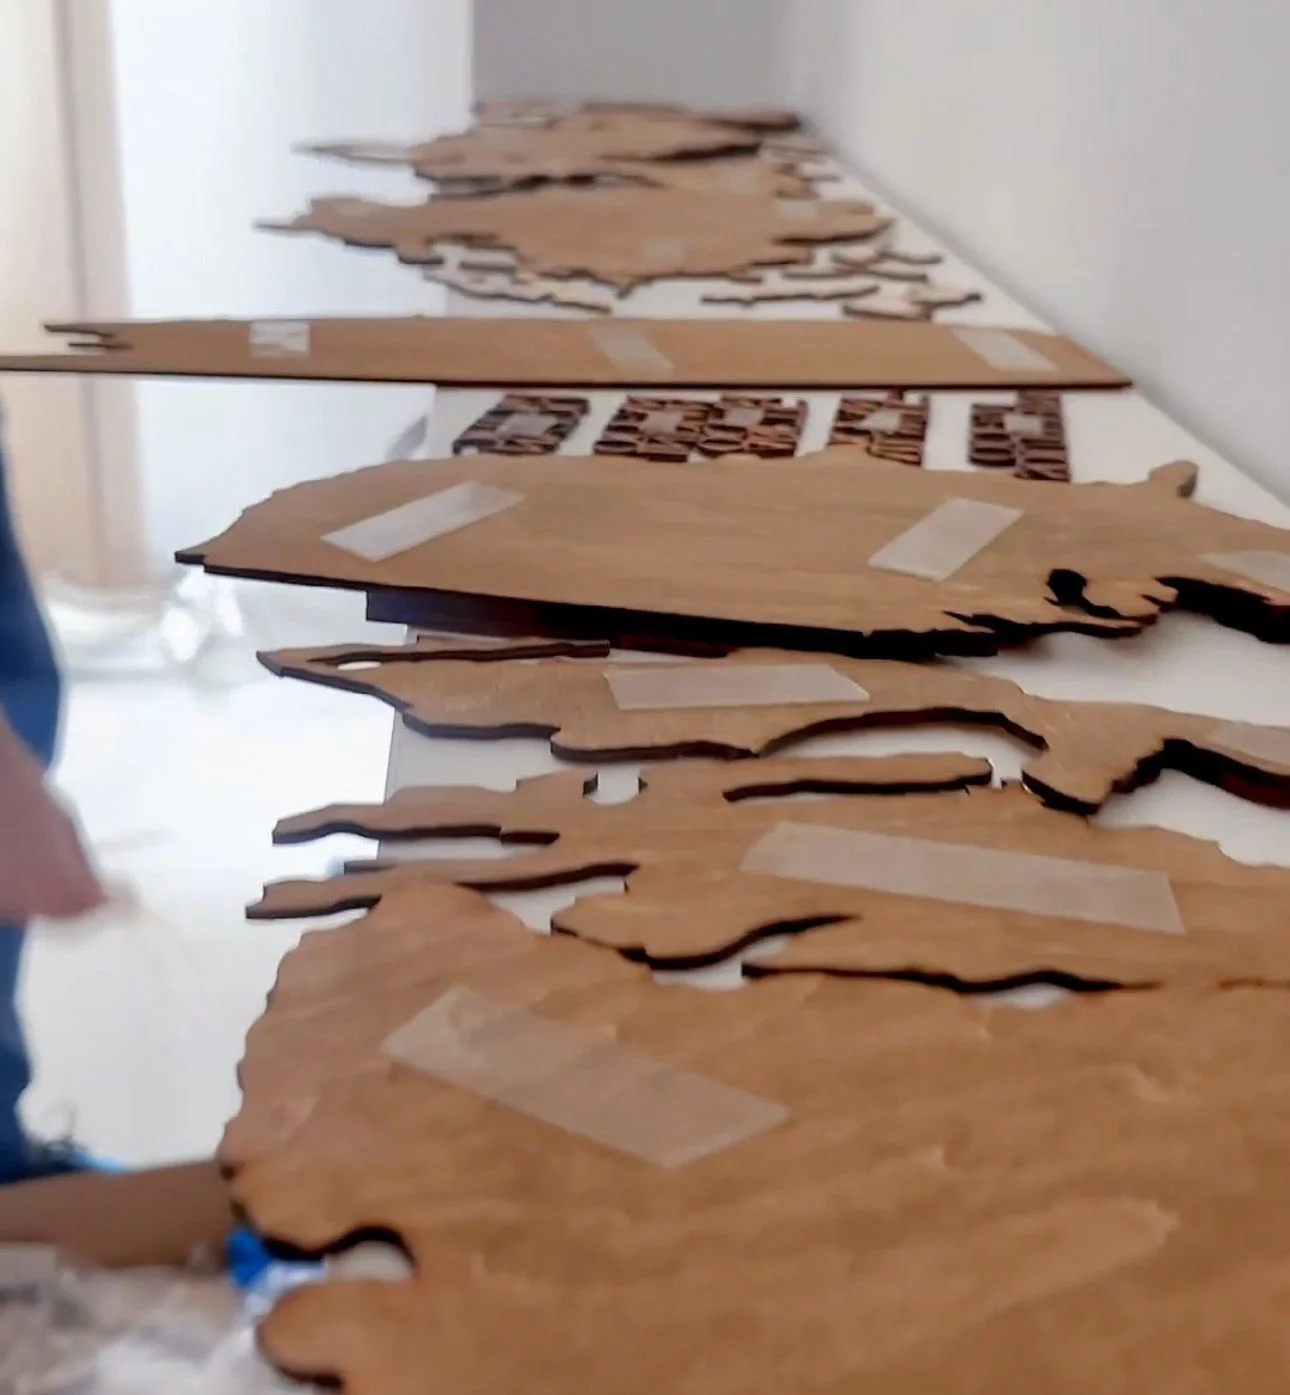
Step 2 – Apply the Tape
Attach the included double-sided tape to the back of each wooden piece.
Use multiple strips on larger countries for secure adhesion.
Step 2 – Apply the Tape
Attach the included double-sided tape to the back of each wooden piece.
Use multiple strips on larger countries for secure adhesion.
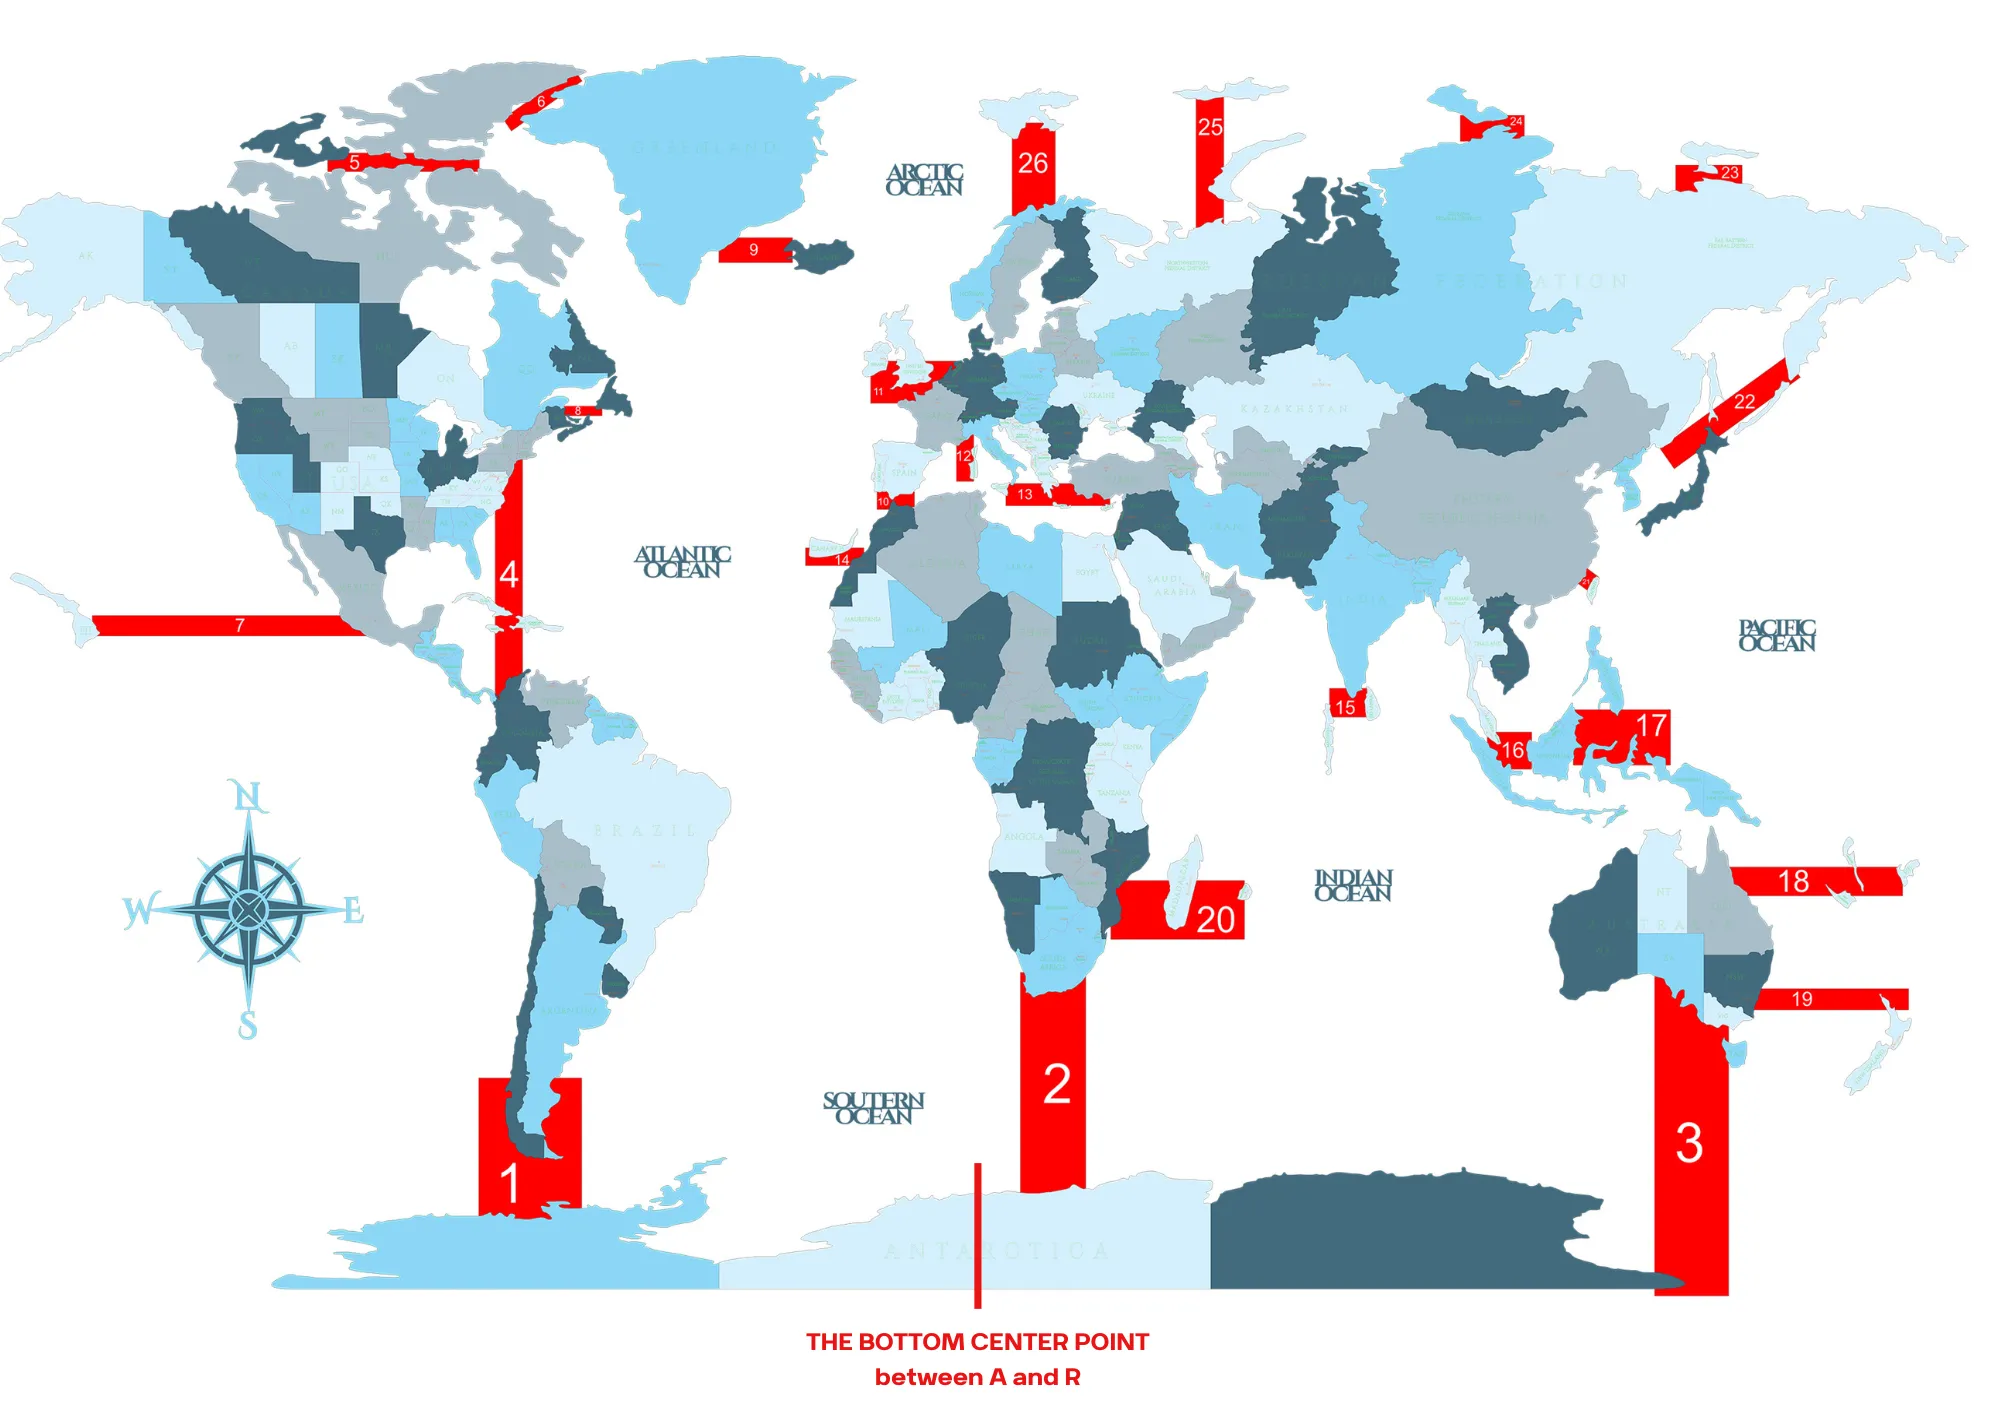
Step 3 – Start With Antarctica (The Center Point)
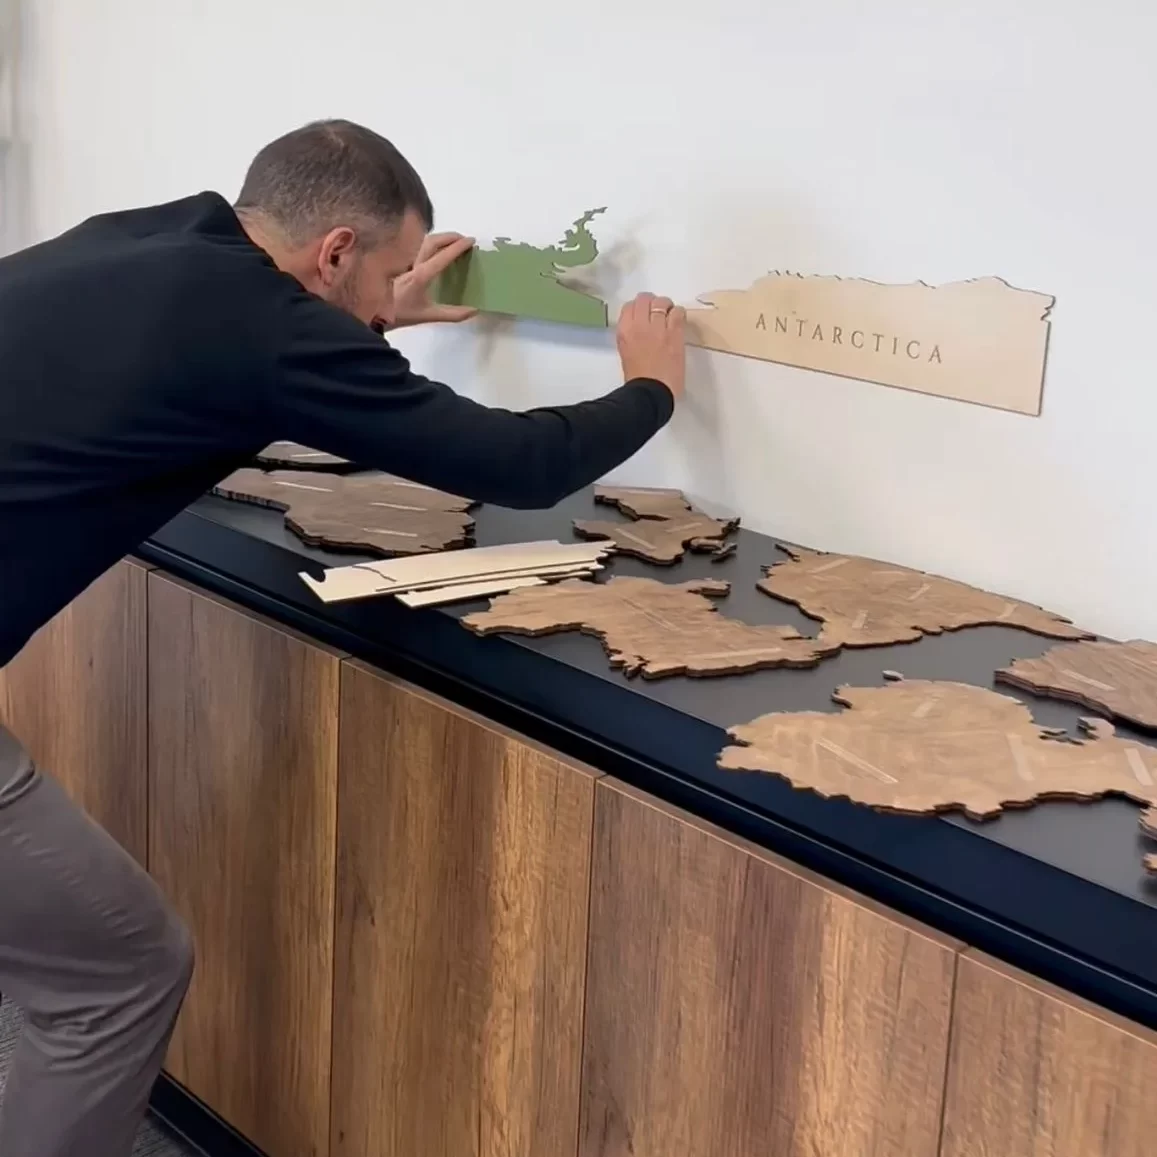
Your installation begins with Antarctica, which acts as the central foundation for the entire map.
Centering the Map
Antarctica must be placed perfectly centered.
The center point of the whole map corresponds to the midpoint between the letters “A” and “R” in Antarctica.
Leveling
Place Antarctica horizontally using a level.
Once it is centered and leveled, the rest of the map aligns naturally with the help of the templates.
Step 3 – Start With Antarctica (The Center Point)
Your installation begins with Antarctica, which acts as the central foundation for the entire map.
Centering the Map
Antarctica must be placed perfectly centered.
The center point of the whole map corresponds to the midpoint between the letters “A” and “R” in Antarctica.
Leveling
Place Antarctica horizontally using a level.
Once it is centered and leveled, the rest of the map aligns naturally with the help of the templates.
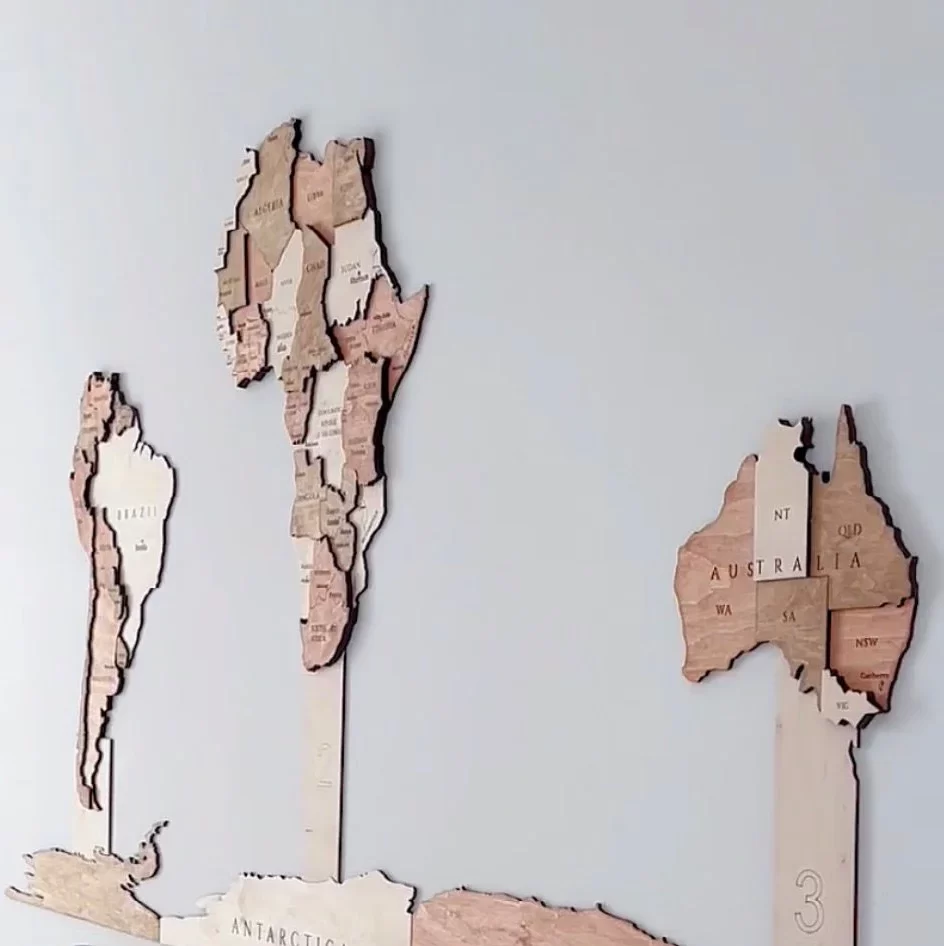
Step 4 – Use the Wooden Templates
The set includes precisely cut wooden templates, each one numbered.
These templates show you exactly where to attach each piece above and around Antarctica.
Follow the numbers in order (1, 2, 3, etc.)
Place each template on the wall
Attach the corresponding wooden pieces using the tape
Remove the template and continue to the next number
This process is very intuitive, and customers often describe it as fun and relaxing.
Step 5 – Complete the Map
Continue placing all pieces using the numbered templates until your entire map is assembled.
Once finished, press each piece gently for 5–10 seconds to secure it.
Step 5 – Complete the Map
Continue placing all pieces using the numbered templates until your entire map is assembled.
Once finished, press each piece gently for 5–10 seconds to secure it.